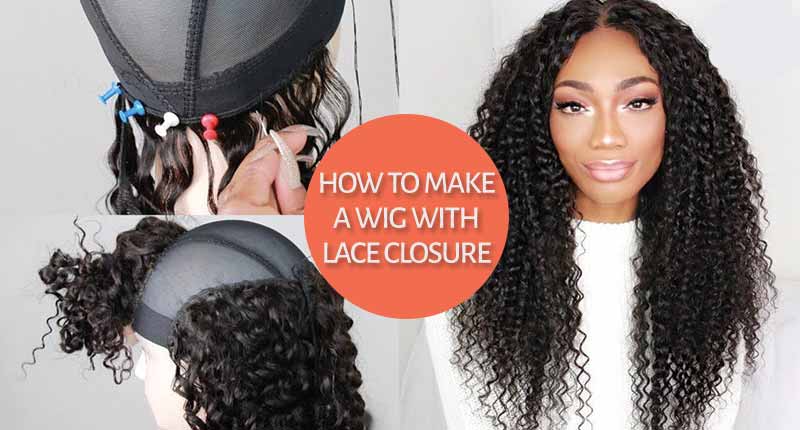
Many users tend to purchase closure and bundles to create their own wigs. So it comes to the question “How to make make a wig with lace closure for beginners”? In this post, we share a guide on how to make a lace wig with closure step by step, detailed tutorial from start to finish.
Table of Contents
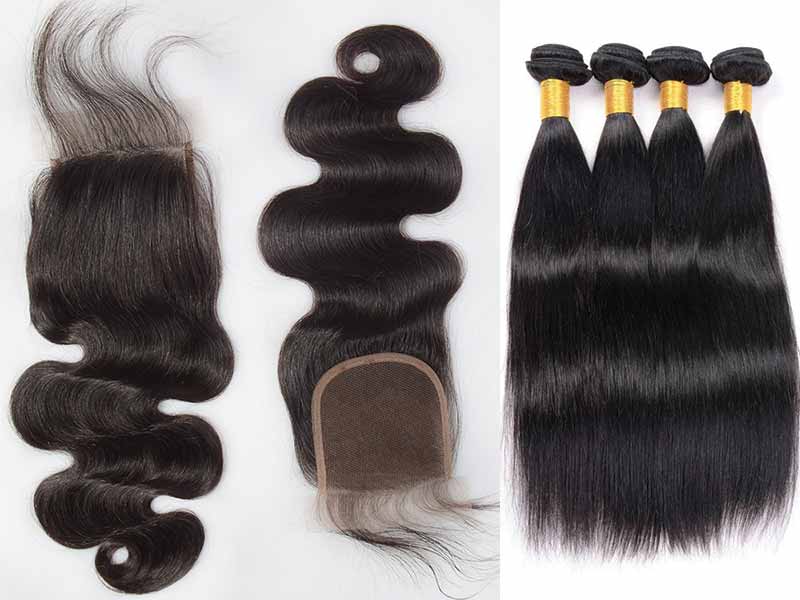
What You Need To Prepare
– Wig stand or styrofoam mannequin head
– Human hair including closure and bundles. You may need 3 or 4 bundles that depend on how the thickness you want the wig.
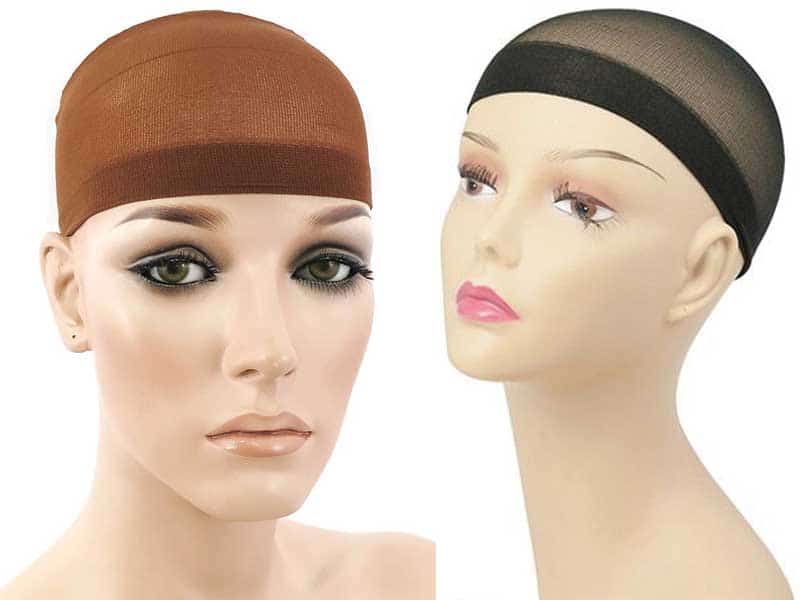
– A wig cap
– Elastic wig band
– A sewing kit (scissors, tweezers, curved needle, and weaving thread)
– Pearl-headed pins or T-pins
Related posts:
- How To Make A Wig? – An In-depth Guide On How To Do It At Home
- 4 Lessons About How To Cut A Lace Front Wigs You’ll Never Forget
- 4 Easy Tricks About How To Style A Wig To Rock Your Day Away!
How To Make A Wig With A Lace Closure
A detailed hair tutorial on how to make a wig with lace front closure:
Step 1
Make sure that the styrofoam mannequin head is stable on the table. You can use tape to secure the mannequin head.
Step 2
Cover the head with a wig cap. You can use a dome cap or elasticated cap.
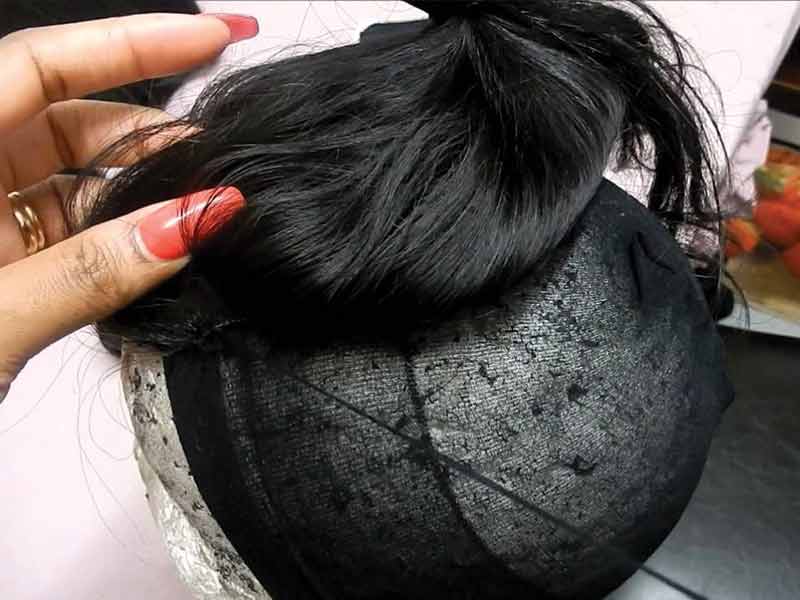
Step 3
Start out by taking the closure and applying it first. This is the most important step. Then place it in the front and pin it down with pearl-headed pins. Make sure the closure is smooth and flat as possible.
You can braid or clip the hair to get it out the way. Add more pins to the front to make sure that the lace does not move or shift.
Step 4
Now, move to the next step on making the top of a custom wig with a lace closure sew in. Use a curved needle and weaving thread to sew the closure into the wig cap. Beginning by threading it as close to the very end of the closure as possible. Don’t forget to make a tight knot on the first one. Then continue sewing around the edge of the lace closure. Once you have done in one side of the closure first, switch up to the other side and continue threading. Again, make tight knots at the end of your stitching. Cut the excess thread.
Step 5
Start with the first bundle at the bottom which is also the longest one. Place it a little above the end of the cap. You can start with the shortest bundle if you want. Then use pearl-headed pins to secure it. The hair will go from ear to ear in the back area. Then go through the bundle, you want to go through the weft with your needle first. Make sure you are not going through the elastic band on the cap because you will find that it won’t stretch at the end. You use the same technique for threading that you use on the closure. Loop it twice at the beginning if you want.
Keep sewing until you get to the end of the first row, secure it with two knots. Make sure that it is very secured. Ready to do a new row by folding the bundle carefully and pin it down. Use a needle, go through the weft one more time and also do a double loop. Continue sewing in a different direction.
Step 6
When you get to the very top, you take a short bundle and go all the way to the top, leave about an inch of space. Now, add the bundle to the closure by sewing the weft on to the closure. Use the same technique that you have used for all bundles. Secure them, then cut off the extra bundle that you don’t use. Now, you don’t see where the closure begins or ends.
Step 7
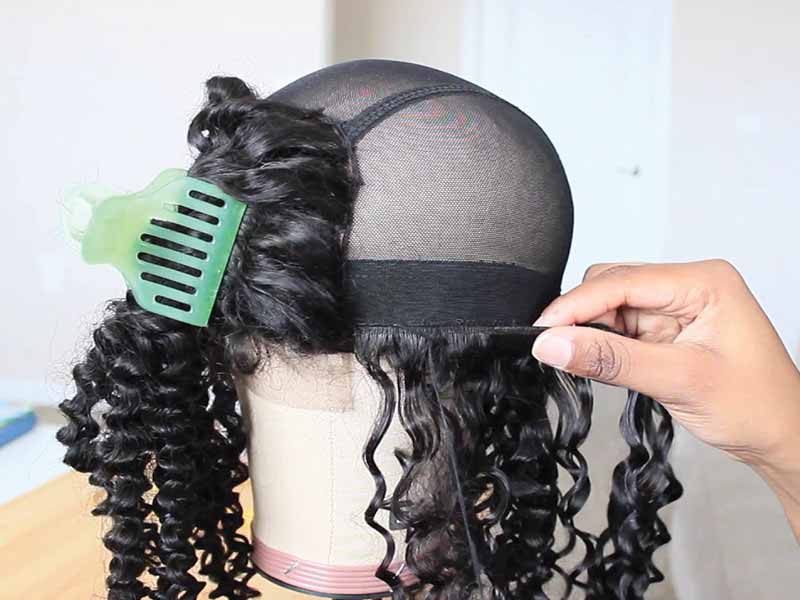
Cut the inner part of the wig cap so that the lace can able to show when you wear the wig. Be careful with this step. You can tweeze the hairs in the closure to make it look more natural.
Cut off the excess lace if you want. Bear in mind that don’t cut too close to the hair to avoid cutting any weaving thread.
You might also like:
- How To Thin Out A Wig Like A Pro With The Help Of These 5 Tips?
- How To Make A Wig Look Natural? – 9 Must-Notice Tips To Never Miss Out
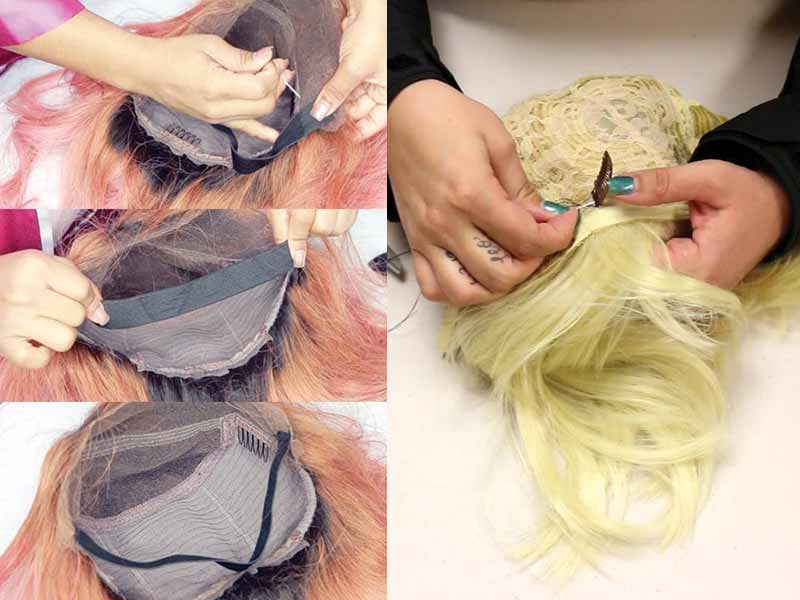
Step 8
Sew elastic band or clips to the inside wig so keep the hair in place when putting on. Finished! You apply hair care products and style the custom wig with lace closure as you want. Because the hair is made of human hair, you can dye or use heating tools to style it.
If you don’t want to create a wig by sewing, use glue instead. How to make a wig with lace closure with glue? The first four steps are the same. But with bundles, you use glue to attach them to the wig cap. Apply glue on the weft and lay it on the cap. Hold it a few seconds so that it can stick into the wig cap. Use a blowdryer to help the glue dry quicker. Keep doing until you have full hair on the cap. Then your human hair wig DIY is completed!
The Last Words
That’s all basic steps on how to make a wig with lace closure that Lewigs would like to recommend to you. Whether to make a weave wig with lace closure by sewing or using glue, it depends on you.
If you need consulting on wigs or related things, feel free to drop us via the WhatsApp button.
See you in the next post!

This is something new for me. I loved how bundles are being used here. I have always to try out this technique but wasn’t sure how to start.
Thank you so much for writing this amazing blog, It was helpful though.