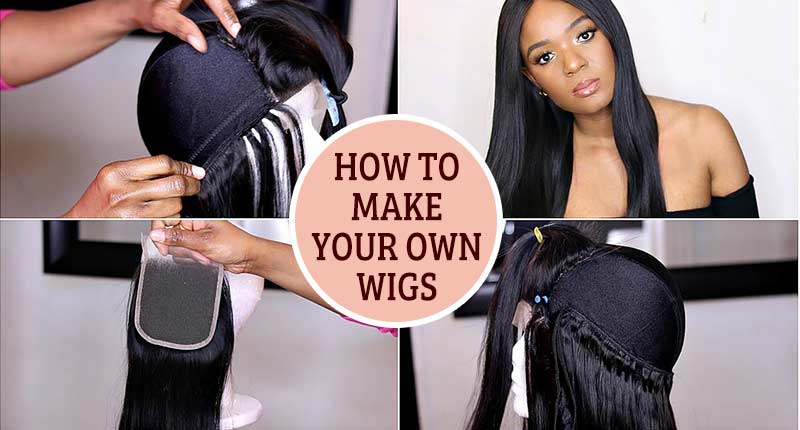
To create a perfect wig, it requires a lot of patience and effort. If you are interested in making your own wig instead of purchasing one from the store, this article is for you. Today, Lewigs is glad to show you how to make your own wigs, even you are just a beginner.
In this article, we try to make everything as simple as possible, so if you are newer to hairpieces, you can still succeed in making your own wig.
Table of Contents
How to create a wig cap?
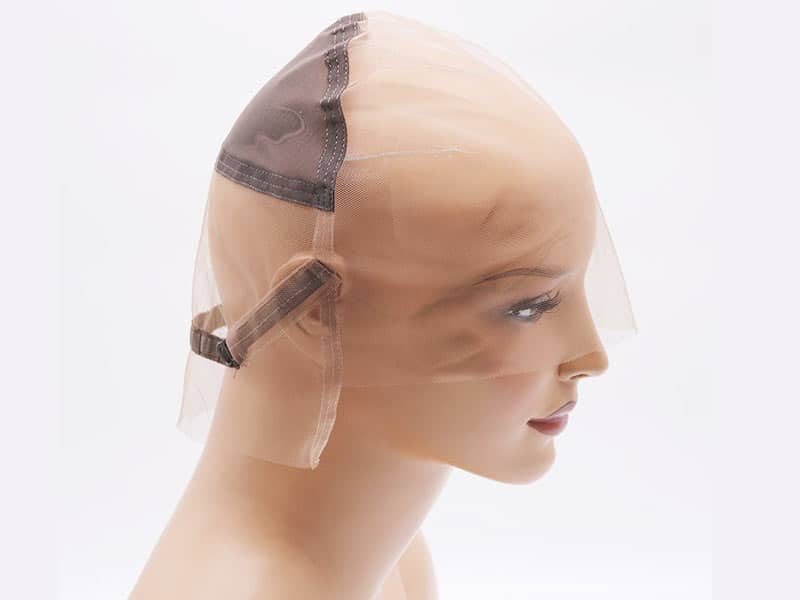
A wig cap is a must-have item if you want to create your desired wig. So before showing you how to make your own wigs at home, we will help you make a wig cap first.
A wig cap is used to make sure your real hair stays flat and fit your head completely while you using a wig as well as protect your hair if the wig slides off.
You can purchase a wig cap at a hairpiece or hair extension store, but if you want to DIY everything while making your own lace wig, we would like to share with you some simple steps to make a wig cap with a nylon stocking.
Step 1
Cover the top of your head with a nylon stock over till the opening reach the edge of your hairline.
Step 2
The excessive portion of the nylon stock will be taken one inch away from your scalp. Doing this step will ensure the size of the cap fit well with that of your head.
Step #3
Create a knot at the one inch away portion. Use scissors to cut off the leftover stocking above the knot.
Now you have your wig cap!
Other tips:
- How To Travel With A Wig? Wig Packaging & Caring
- 10 Untold Wig Tips & Hacks For A Gorgeous Hairpiece!
- A Detailed Guide On How To Put A Lace Front Wig In A Ponytail
How to make your own wigs?
You can do it! Bear in mind that everyone has their first time even the best hair professional. So don’t worry, just be patient and careful. Let’s get started!
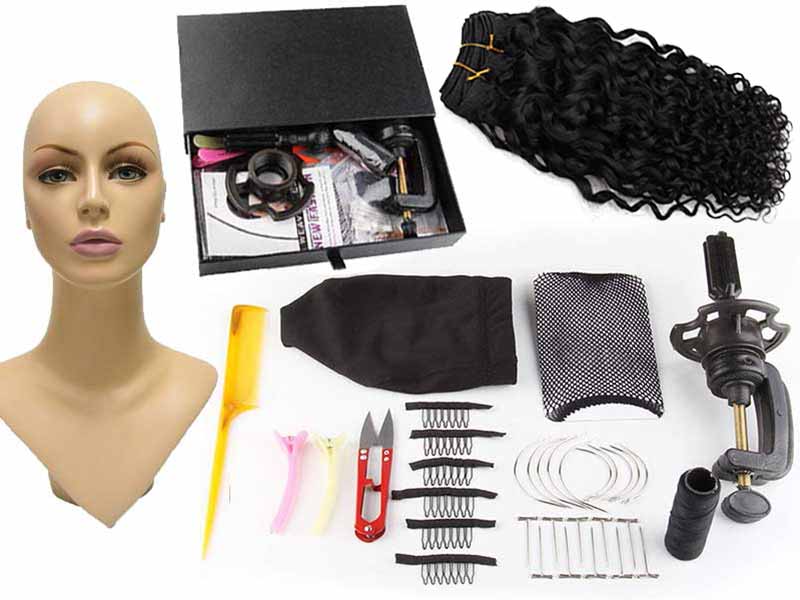
The thing you will need:
– A styrofoam wig head (mannequin head)
– Sew-in hair wefts ( you can find it at Lewigs)
– Wig stand
– Wig lace
– Needle and thread
– Dome wig cap
– Scissors
All these things can be found at your local hair store or on the internet.
Step by step making your own wig!
Step 1: Choose hair for your wig
As you may know, hair for wig has 2 types: Human hair and synthetic hair.
Human hair is far more durable, natural-looking since it is collected from real hair. Moreover, human hair can resist heat so it can be styled like natural bio hair. Wig made with this type of hair is the preference of most long-term users. ( you can look for that at Lewigs website)
Synthetic hair doesn’t always provide a real look since it made from fine plastic fibers. And this hair type cannot be styled by heat or styling products. So, wigs with synthetic hair just stick for 1 style for all time. That why it is cheaper than human hair.
So opt for human hair if you want a natural look with versatile hairstyles, or choose synthetic hair if you just need to use a wig for a short period of time.
After choosing a type of hair for your custom made wig, select your desired texture and color for it.
Step 2: Create a lace foundation
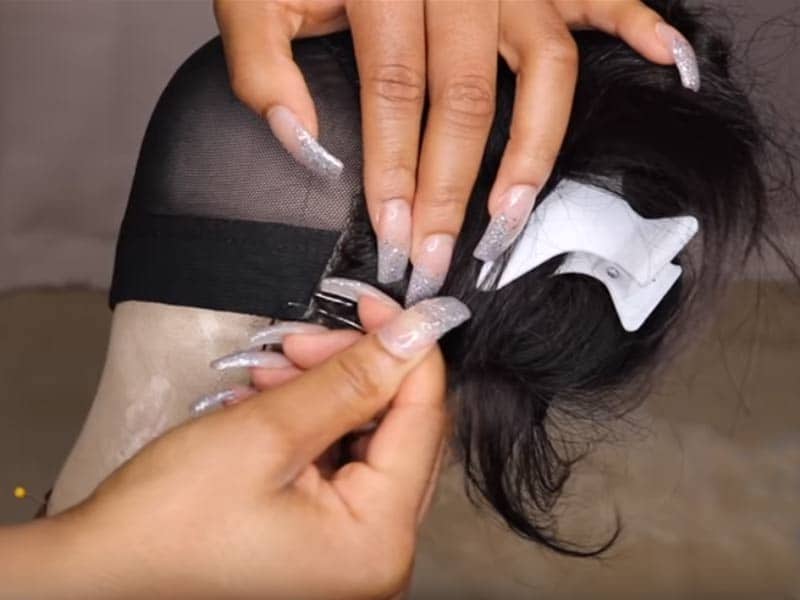
Place the wig cap over the wig head and secure it with T-pins to secure.
Measure your head size including head circumference, crown measurement, and ear-to-ear measurement.
Mark out these numbers on your wig cap with a permanent marker. Cover your hair with small pieces of wig lace, sew them together while sewing them down to the cap to make a lace foundation.
Step 3: Create a wig
If you want the most realistic look with hair wig, you can choose to knot every single separate strand onto the lace by using the ventilating technique.
But this type of technique may take time and require much more effort as well as skills. Alternatively, if you are a beginner, you can make your own lace by using wefts with the sewing technique. The wefts are already made up of many hair strands bound onto a lace so you just need to sew it onto the wig foundation. Use a curved needle to stitch the weft onto your lace. Remember to leave about 1 inch (2.5 cm) of space between each weft so that your wig will not look too dense.
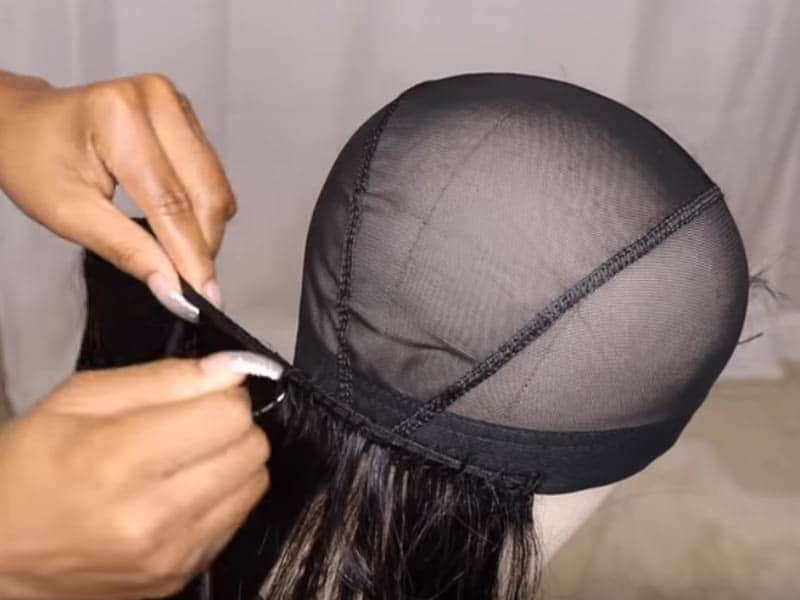
Step 4: Finish and put on your wig
Test how your wig fits your head, then trim the spare lace, apply it onto your head and done!
You can restyle your wig if it is a human hair wig.
Jump to:
- How To Measure Head For Wig? – Follow Our Steps!
- Wigs For Swimming – Can You Swim With Your Wig On?
- Lace Vs Silk Closure: How Are They Different?
How to make your own lace front wigs?
How to make your own lace front wigs share the similar steps to how to make a wig we shared above. The difference is that you should prepare the lace front before sewing hair. First, measure a piece of lace so that it can fit your font hairline. Bleach or dye it to make it match with your skin color. Then, sew it onto your wig cap.
Using the same technique as mentioned above to ventilate the lace front. Use a ventilating needle to knot individual hair strand to the lace. After that, trim the excess lace and apply it to your head.

Our conclusion
Making your own wig seem to be tough, time-consuming, and tiring. Hence, many choose to buy the products already made by a professional for a desirable unit.
But you can definitely create your own wigs if you have the right method along with the right tools. A custom made wig by yourself can benefit you in some aspect, including saving money for example.
Hopefully, after reading our article about how to make your own wigs, you can manage to make your own wig. Then, why don’t you try to produce a wig for yourself now?
In case you look for your desirable human hair wig without making it yourself, shop at Lewigs. We offer all of our customers a wide range of virgin human hair wigs, including all types namely, the full lace wig, lace frontal wig, or lace closure wig and 360 lace wig. So you will have more options to choose from.
If you like this article, share it with your buddies! And don’t hesitate to drop us a message if you have any questions.
Thank you for reading!


