You’re bored with the look of your hair? Would you like to change the look a little bit but still outstanding? If that is the case, lowlight will be a great solution. To achieve that, you can literally do it yourself. To learn more about how to lowlight hair at home, keep reading this article.
Table of Contents
How to lowlight hair at home?
Step 1: Preparing
Choose the dye
To pick the color, go to a drugstore or a beauty supplies store. Any hair dye companies have products designed specifically for doing “at-home” lowlights. If this option is available, get it. If not, choose a color that suits your natural hair color.
Choose a color that is two to three shades darker than the natural hair color. Choose three colors that are similar to your hair. For example, blondes should go for a darker blonde or a light brown one, and brunettes should go for deep browns and reds. Pay attention to your skin’s natural tone before deciding to pick whether cool or warm shades.

Make a self-test to see if you have any allergies
The majority of box colorants recommend this. Place a drop or two of the dye on a tiny region of your skin to test it. Allow 10 minutes to see if you get a response. If the skin where the dye is applied or around it becomes red or bumpy, you are allergic to it and should avoid using it.
Avoid dye spills on yourself and your belongings.
The dye will ruin a dress, rug, or something else it comes into contact with except your hair. So, cover the ground where you will be dye your hair as well as any surrounding surfaces, with newspaper to prevent dye stains. Put on an old t-shirt or paper towels in case of a dye leak.
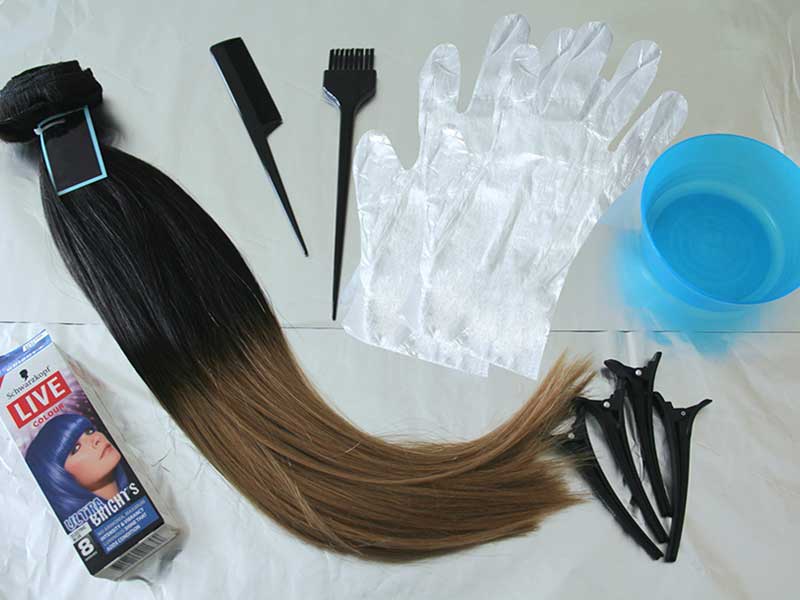
Before you start mixing the dye, put on rubber gloves to avoid ruining your new clothes. Gloves are included in most dyeing kits for use during the dyeing process. If the package does not have rubber gloves, you can buy them at the nearest drugstore.
Other posts:
- 11 Awesome Hair Color For Women Over 50 To Try This Year
- 10+ Gorgeous Hairstyles For Women With Thin Hair To Try Out
- How To Dye Hair Grey From Dark Brown: 6 Smart Ways!
- Are You A Victim Of Your Hair Care Routine?
Avoid dyeing your face and ears
Apply Vaseline over your hairline, neck, and over your ears to do so. Once you’ve done dyeing your hair, you can use Vaseline to help wash the dye as well.
Step 2: Mix the dye to lowlight hair
Let’s follow the instructions on the dye box. A mixing bowl and a brush can also be included in your kit. If it doesn’t, you should use a plastic bowl in case you don’t like staining instead and a brush can be purchased at a beauty supplies store. If you’re using different dyes, mix them all at once to speed up the dyeing process.
Some hair dye needs developers that may be included in the hair dye box. If the instructions require the developer but your lowlight kits don’t have it, you can get them from a beauty store. It often comes with 4 levels, namely 10, 20, 30, and 40.
Step 3: Apply the dye
Part the hair areas where the lowlights are going to be used. In order to achieve this, use the end of a tail comb to do so, as the way you do to highlight. You will apply from the roots of the head to the ends. You may need to pin your hair up if it’s long to avoid it getting tangled.

If you want to apply more than one color, pin the places you want to lowlight and plan which color each strand will be dyed. It isn’t necessary for them to be symmetrical. If they are varied, it would seem more natural.
Follow the manufacturer’s guidelines to make the dye mixture. When the mixture is primed, begin adding it to the hair with the applicator. The applicator should be about a quarter-inch away from the scalp.
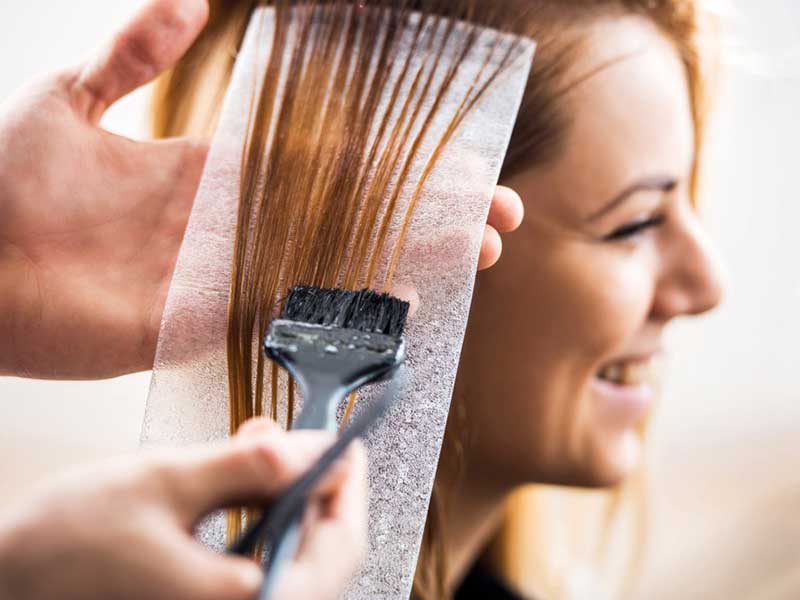
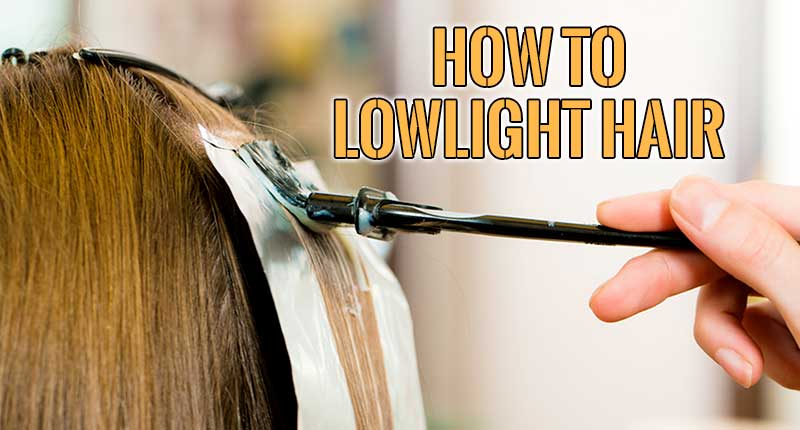
Apply the dye on a selected section of hair, which is no wider than 1/2 inch. Start painting the Hair from the top and work your way down to the ends until it is fully covered. Don’t put too much color on the hair; just enough to cover it.
Fold your dye Hair in foil and continue with the same procedure for the next row till all are done.
Step 4: Finish up
Allow the color to stay on the hair for the amount of time specified in the instructions. Rinse the hair with water until the extra pigment is gone after the time has passed. Most lowlight hair kits come with their own hair care items, such as shampoos and conditioners, which you can use afterward.
How to maintain lowlights?
Protect hair from UV rays: It’s best to keep your hair out of direct sunshine for at least a day after you’ve dyed it. The sun’s UV rays will fade the dyed pigment. The same goes for blow dryers: don’t use them for a few days after you’ve dyed your hair.
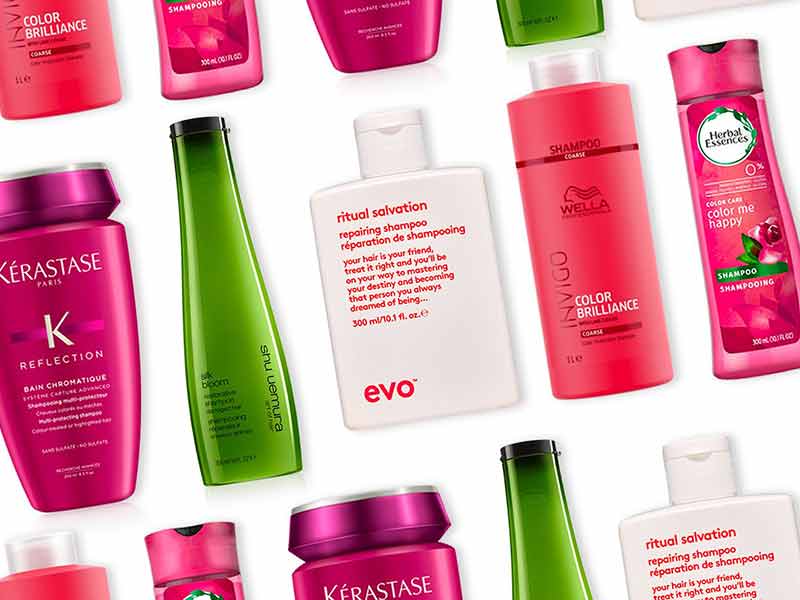
Use the proper shampoo and conditioner for your hair. You should wash your hair with shampoo after waiting at least 24 hours. It is, however, strongly advised that you purchase shampoo and conditioner designed especially for dyed hair. This is because normal shampoos will remove the dye from your hair.

Re-dye your hair if needed: Repeat these steps above every 6 to 8 weeks, so that you have a new improvement, to make your lowlights look flawless. To stop the fried look that often comes when your hair is dyed too often, leave the condition in your hair for five minutes while you are showering.
Jump to:
- What Is Weft Hair? 3 Different Ways To Install Hair Weave
- Are You Suffering Cowlick Hair? Here’s How To Deal With It!
- 7 Awe-Inspiring Hairstyles For Natural Curly Hair To Rock Your Coils!
- 3 Effective Strategies For How To Lighten Hair With Lemon Juice
The bottom line
Compared to highlights that often offer a dramatic look, lowlights focus on the natural elegance of the hair. This is because the darker colors are applied to the hair’s bottom layers, giving your lovely locks more dimension.
We hope that with the easy steps about how to lowlight hair mentioned above, you can skip the salon and opt for a do-it-yourself lowlights experience, which can help you to save money but still gain the desired look.


