
It is common that many women and girls are so unsure or feel strange when it comes to hair extension in general or clip-ins in particular. This is because not all people need to know about them. You might hear that clip-in hair extensions are easiest to apply and remove, you got one for yourself and now you may so confused about how should you start with them. If you are looking for instructions on how to clip in hair extensions, this place is for you.
Table of Contents
How to put in clip in hair extensions yourself?
What you will need:
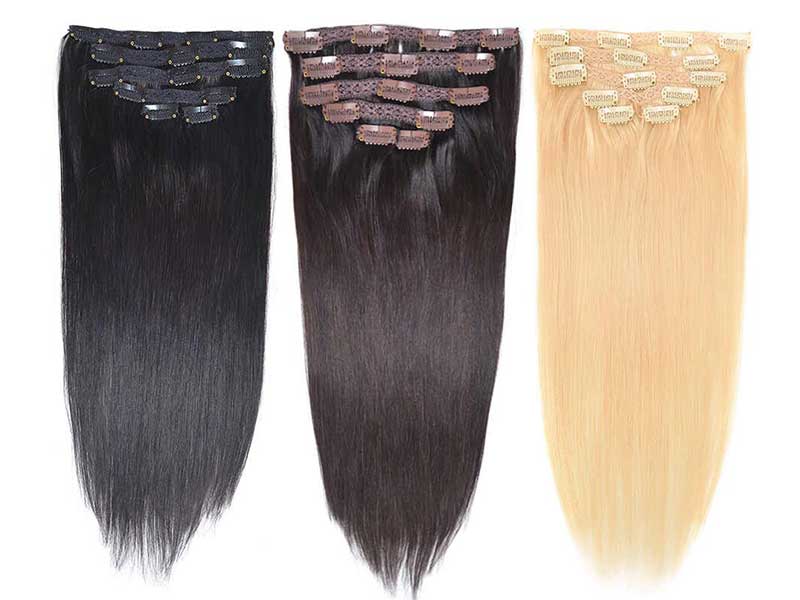
Clip-in hair extensions
Soft paddle brush
Some more clips
Mirror
How to clip in hair extensions?
Step 1: Prepare your natural hair
Begin by brushing your natural hair with the paddle brush to detangle and prepare for installation. Make sure your real hair is clean, dry, and free of tangle.
Related posts:
- How To Make Clip In Hair Extensions? (With Pictures)
- How To Put On A Topper Hair Piece With Clips?
- I Tried Hair Topper Without Clips And It’s Brilliant!
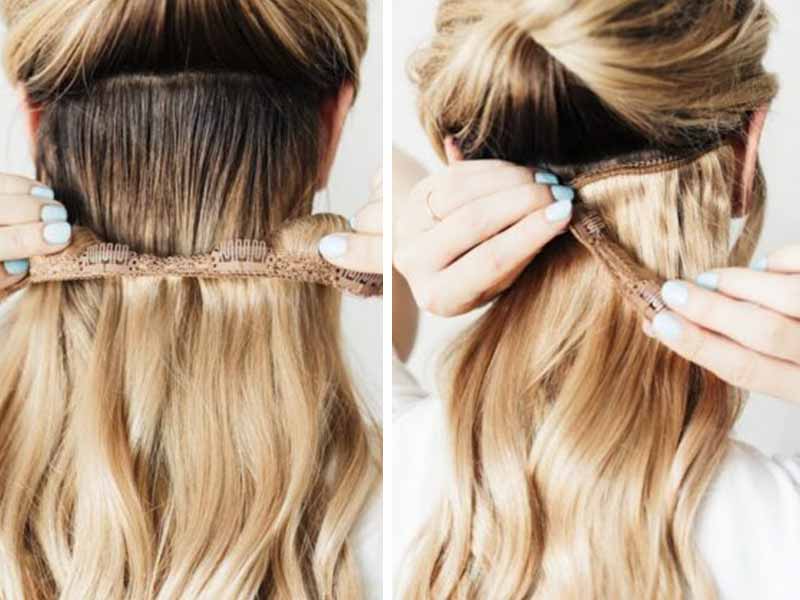
Step 2: Begin with a 3-clip weft
Place your fingers below your ears or on 2 sides of the hairline, or use a comb to start separating your hair at this position. Gather the top layer of your hair into a bun or secure it with clips.
Take out a 3-clip weft and brush it from the bottom to dangle any knots before clipping it into your hair.
Measure the weft with your head to make sure it’s length and size will blend and fit properly with the parted hair, Next, determine the middle of your head and clip in the center clip into your hair at the root. Ensure that the clip is secure as close to roots as possible since it will prevent the clip from slipping off. Simply tease it to make sure you have done correctly. After clipping in the middle, clip the left one then the right one.
The same method can be employed to apply other wefts.
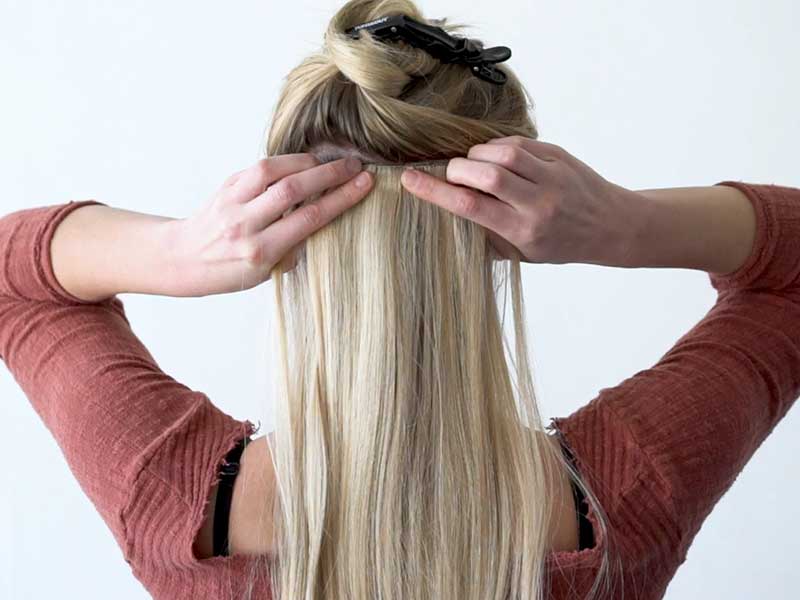
Step 3: Apply a small weft
Separate a thin section from the first clipped hair, about 1 inch above the first clip-in weft and secure the rest of your hair as the second step. This second weft should be at the top of your ear. Take a smaller clip, measure it against the place you are going to put it in to ensure it fits well. Then, apply it as you do with the first weft, start clipping at the middle then 2 sides. When clipping at the middles, slightly stretch the weft to prevent bumps.
Step 4: Apply the larger weft
Separate a thin section from the clipped hair, it will be 1 inch above the third weft and secure the rest of your hair as the previous step. This weft will be at the widest area of your head.
Take the largest 4-clip weft, comb it through and start clipping. Clip in the middle two clips following by clipping in the side clips.
Step 5: Apply another 3-clip weft
Separate a thin layer from the clipped hair, 1 inch above the last on and secure the rest of your hair as the previous step. Take a 3-clip weft, comb it through, and start clipping. Clip in the middle clip following by clipping in the side clips.
Step 6: Apply clip-in weft at the side
Clip-in hair extensions often include wefts that go on 2 sides of your scalp. This will add length volume on the size make your hair look fuller.
Separate your hair about 2 inches on the side, above your ear. Clip the rest hair away. Take a small 2-clip weft and clip close the root of your hair. Then, start clipping the clip near the hairline then clip the one near the back of your head.
Do the same thing on the other side.
Step 7: Apply 1 clip wefts
You can apply 1-clip wefts above the 2-clip one on the side or anywhere you think it needs more volume. Clip the rest of the hair away. Comb through the wefts before applying then clip them to your hair close to the roots.
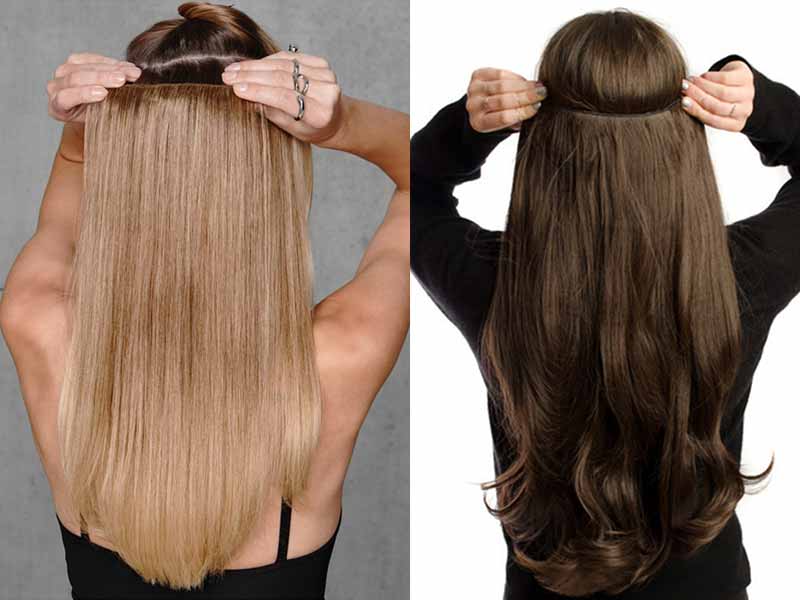
After finishing all the steps, gently brush your hair and check in the mirror to ensure all the wefts are undetectable. Fix and adjust it if needed. And now you have a new hair look with more volume and length.
FAQs
How long does it take to put in clip in hair extensions?
Applying clip-in hair extensions is a fast and easy process, it can take you about 10 minutes if you have practiced a bit.
Can I style clip in hair extensions?
Clip-in hair extensions can be styled in various ways like a bun, ponytail, braid, or curly style.
What types of clip in hair extensions should I choose?
If you want to straighten or curl your extensions after already purchasing, we recommend you look for Remy human hair clip in extensions. Also, since they made of human hair, they will offer the most natural look. Hence, it will be much harder for others to detect that you are wearing extensions.
Jump to:
- 6 Awe-Inspiring Ideas To Make The Best Use Of Wig Clips
- How Do Hair Extensions Work On Short And Thin Hair?
- How To Put In Hair Extensions – 7 Installation Methods
Can I sleep with clip in hair extensions?
It is not recommended to wear clip-ins while sleeping since it can damage both your extensions and natural hair.
You can easily remove the clip in extension by yourself in a few minutes.
Section your tresses above where the extensions were installed and below the place that clip-ins have been put in. This will show where they have been applied. Gently unclip the clip at each weft, make sure you unclip all before pulling the weft out of your hair.
All in all
Lewigs do hope that this article about how to clip in hair extensions will help you to put in your clip-in easily on your own. Note down the steps if you need them and start practicing now!
If you want to get new extensions or wigs, Visit Lewig website for a wide range of high-quality human hair pieces at affordable prices!
If you have any further questions or want to share your opinions, contact us via our hotline anytime.
Visit our blog for more interesting tips and information!
