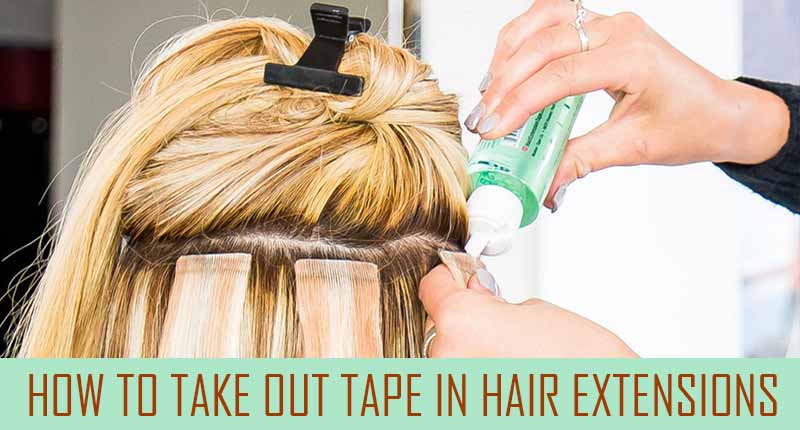
Compared to other kinds of extensions, tape-ins outstand with its easiness to attach. However, to take out tape in hair extensions is not an easy task to perform. It requires you to be gentle and meticulous; or else, you might unconsciously ruin everything.
There are different ways to remove tape-in hair extensions and we are about to brief them down below!
Table of Contents
First, remember, it’s always best to ask for professional assistance
It’s not just about the removal, ladies!
From installations, move-ups, to removals, we do always recommend you asking for a qualified stylist to perform these tasks. Playing with tape-in extensions is not an easy game and it’s hard to become an MVP even when you have got familiar with it.
Tape extensions involve double-taped pieces of hair that need sticking on your bio hair. To look good, the tapes must be placed exactly on the places they should be. And of course, it requires the applier to have a broad and close-up view so that he/she won’t fail to attach them. Imagine, if you are wearing it yourself, you can just look at the back of your head through a mirror, and most of the time, it’s super hard to place the tape at the right place without involving some strands sticking in.
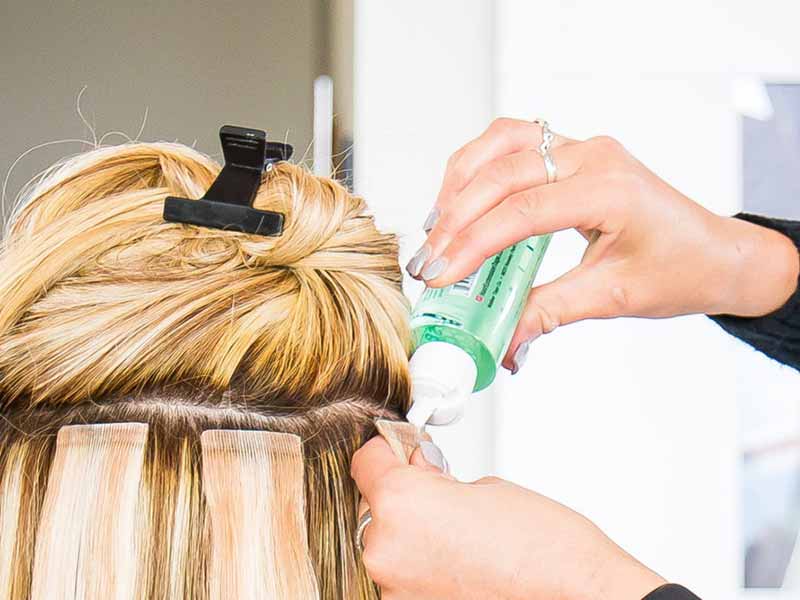
The same case happens when you take out the tape in hair extensions carelessly. The hair is easy to become matted and tangled if you are not careful and meticulous enough.
Therefore, to prevent any unwanted damage, and to get the best outcome, have a hairstylist to do this removal for you.
Related posts:
- Tape In Hair Extensions Damage – Not Just A Worry
- Why Invisible Tape? This Newly-Born Tape-In Rocks The Hair World
- [GUIDE] Install & Style Tape In Extensions On Short Hair
- 12+ Tape In Hair Extensions Pros And Cons (Without All The Hype)
When to remove tape-in hair extensions?
Whether you’re about to ask for professional assistance or do it yourself, answer this question first: when will be the right time to take out, or move up your tape in hair extensions?
You will undoubtedly have to go for a move-up when your bio hair grows longer. This is to ensure the tape-ins lay close to the root of your tresses so that it could look natural. Normally, you will have to do this task 3 to 6 weeks after the first installation. It depends largely on how fast your real hair grows.
Removal is also necessary in case you feel the extensions no longer look good on your head. If you feel you need to replace it with a new set of tape-ins or change to other types of extensions, it’s time to take the tape out.
Start with the right remover for your tape-ins
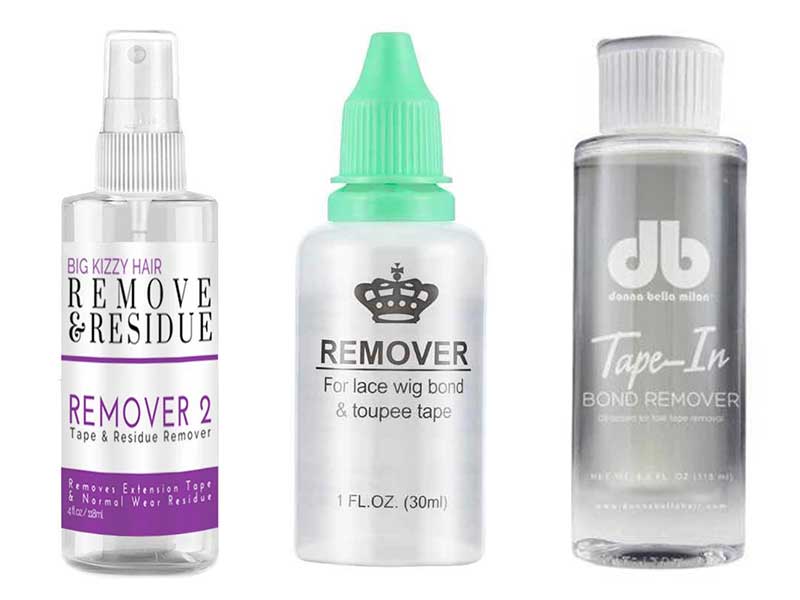
It’s exceptionally important to choose the best tape-in removal so that it could dissolve the tape well while not posing any damage to the hair. Some people tend to use coconut oil to do this task, but a professional removal is always preferred and suggested.
To begin with, apply the remover to a certain row of wefts. Never apply it once all over your head because if it’s left for too long, it might disintegrate the tape and then make it viscid. Hence, it’s best to apply an “enough’” amount of remover to a certain part where you’re working with. If you see the weft can be peeled easily from your real hair, it’s enough. If it’s still too hard, then add some more.
When you have done peeling the tape out of your real hair, use the same remover to apply to your bio strands to remove any adhesive left. Use a comb to brush it out, afterward.
Wash both your wefts and real hair properly
This is a very essential step when you take out tape in hair extensions, not to say it’s the most important one. Before any re-installation, both your tape wefts and natural hair must be clean; or else, you might face serious slippage and failure.
How to wash your real hair after removing tape in extensions?
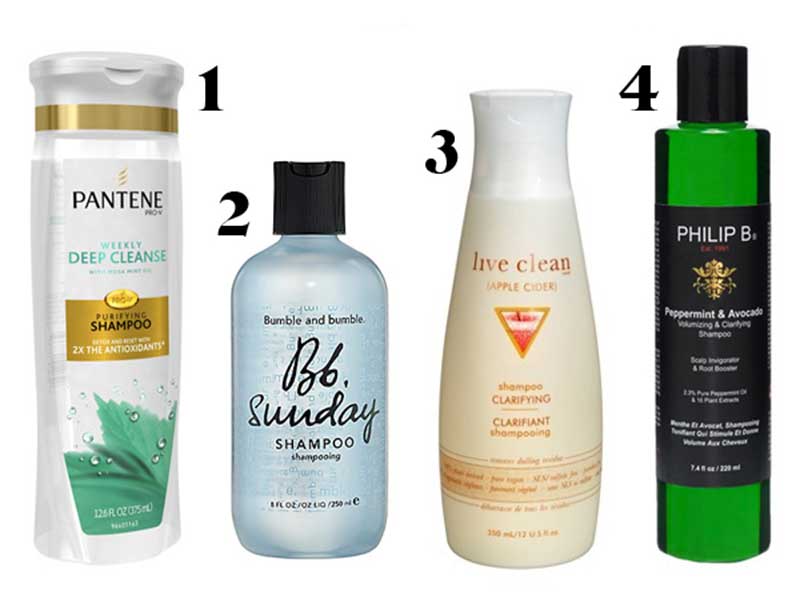
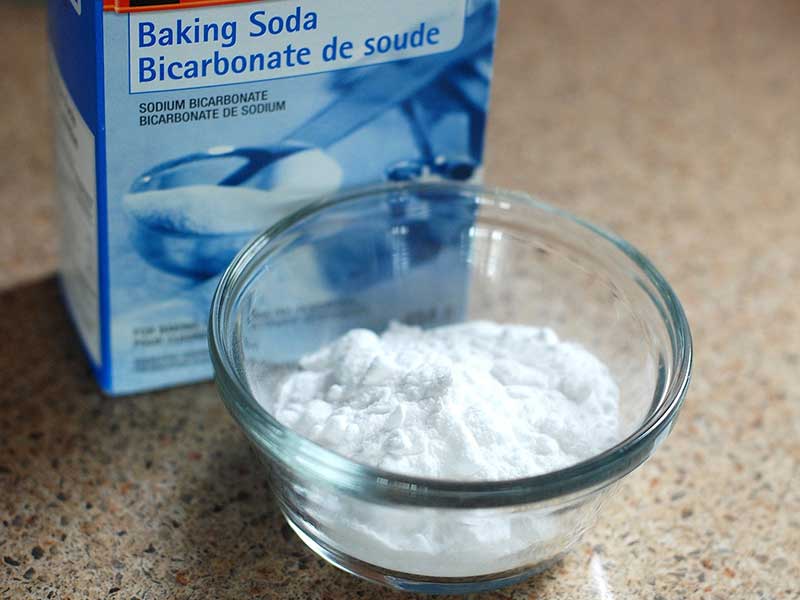
Remember, use a clarifying shampoo. This will help remove any residue and adhesive left on your tresses effectively. In case there’s any left that’s too hard to remove, combine the shampoo with some baking soda and have a second wash. This time, apply the shampoo to the place where the tape once stayed. Baking soda is amazing: it can break down the bonds and get rid of the stickiness on your hair.
A third wash might be necessary if you see any traces of baking soda after the second wash.
Read more:
- Permanent Hair Extensions – Grab The Essentials!
- Dye Hair Extensions Tutorial – DOs & DON’Ts
- All About Fusion Hair Extensions Pros And Cons You Should Know
- How To Make A Non Lace Front Wig Look Natural?
How to clarify the tape wefts?
The tape wefts need clarifying, also, but the way to do it is different.
First, mix clarifying shampoo and baking soda on a small dish. Once you have done the removal with all the wefts well placed on a styrofoam head, take one at a time and wash it with the shampoo mixture. Rinse it well with water before placing it back to the styrofoam head.
It’s great if you could use a hooded dryer to dry the head. In case you don’t have any, use a blowdryer to dry your tape extensions instead.
On the whole
There are bunches of tutorials online that teach you how to take out tape in hair extensions at home. You can refer to these videos and vlogs and try it yourself; or simply, ask a hairstylist to do it for you. Removing tape weft hair is never a piece of cake, so be careful.
Lewigs hope that our blog has got you on the right track to tape in extension removal. If you seek for top-quality tape extensions or hairpieces with human hair, check out our products. We have the best in the market to offer you.
Have a nice hair day!


